Turn a Blog Into a Mini App with Notifications

One of the more powerful use cases of Farcaster Mini Apps is personal blogs. Not only can users read your posts without leaving the feed, they can also subscribe for notifications for future posts. This is such a great demonstration of how powerful the Farcaster ecosystem has become, and it’s getting easier and easier to participate. In this post we’ll show you how you can turn your own blog into a Mini App and have notifications powered by Ping’em. We’ll use a starter blog template from Astro to build our app and host it on Orbiter, but you can apply these principles to most blog frameworks!
In order to follow along with the tutorial you will need a few things. First you will want Node.js installed, at least V20 or higher. You’ll also want to have a free Orbiter account which you can grab here. Once you’ve signed into your account go ahead and create an API key, which you should see on the dashboard when you login. Save the API key somewhere safe, then in your terminal run the following command.
npm init astro -- --template Charca/astro-blog-template blogThis will start up a blog with Astro, and not just a bland one either 👀 It will prompt you if you want to install dependencies and initialize with git, so select yes for both of those. Once it’s initialized let’s cd into it and make sure everything is installed.
cd blog
npm install @astrojs/sitemap
npx astro add svelteWe’ve got our project setup, so now we can start adding in our Mini App elements!
SDK
The first thing a Mini App needs is the Frames SDK (likely to be renamed soon). This sends a message to the Farcaster environment that the app is ready to be used, and lets your app access things like notifications or user information. There are several ways you can import the SDK and use it. For this post we’ll keep it simple as possible as we only need a few pieces, not any custom implementation. Inside our demo blog repo there is a file located at src/components/Footer.astro. Open that file up paste in the following code.
<footer>
<span>
© {new Date().getFullYear()} Your Blog.
Powered by <a href="https://astro.build" target="_blank" rel="noopener">Astro</a>.
Template by <a href="https://www.twitter.com/Charca" target="_blank" rel="noopener">Maxi Ferreira</a>.
</span>
</footer>
<style>
footer {
color: var(--text-secondary);
font-size: .8em;
margin: 1em auto;
max-width: 1400px;
padding: 1em 2em;
text-align: center;
width: 100%;
}
</style>
<!-- Add in the Farcaster SDK -->
<script type="module">
import { sdk } from 'https://esm.sh/@farcaster/frame-sdk';
window.onload = async () => {
try {
await sdk.actions.ready();
await sdk.actions.addFrame();
} catch (error) {
console.error(error);
}
};
</script>The last part of this code is a script tag that will work in any HTML file. In our case it’s at the end of the HTML file inside the body, and it will import the sdk and on the window load it will run both a command to say the frame is ready, and another to prompt the user to add the Mini App. When a user adds the Mini App this will subscribe them for notifications, which we’ll get into soon.
Manifest
The next piece we need to add to our blog is the manifest. This is a JSON file that lives in /.well-known with all sorts of important information about your app. Farcaster will use this info to make it “installable” for other users and list it in their mini app explorer. To make this go ahead and make a new folder inside of public called .well-known, then inside that folder make a file called farcaster.json. So in the end your file path would be public/.well-known/farcaster.json. To get the contents of this file, the easiest thing to do right now is to open the Warpcast app, go to Settings > Developer > Domains. Here you will want to put the future domain of your website. If you don’t know what that is that’s ok, in this tutorial we’ll be deploying to Orbiter which comes with a free orbiter.website domain. With that said I’ll use mini-app-blog.orbiter.website as my domain. Once you enter a domain it should let you copy the manifest that we need to put in farcaster.json and it should look something like this.
{
"accountAssociation": {
"header": "eyJmaWQiOjYwMjMsInR5cGUiOiJjdXN0b2R5Iiwia2V5IjoiMHg0NTYxMzExNjFmODNDN0Q3ZkRBMTViMzJhNWY3QzIxRkQ0RTI3RTk2In0",
"payload": "eyJkb21haW4iOiJtaW5pLWFwcC1ibG9nLm9yYml0ZXIud2Vic2l0ZSJ9",
"signature": "MHgwZDNjMzQ5M2ZjZWNjMmY1OTg5Y2RlNjY0YjE3ZjVhZTY0NDFiNjFjMmZjN2ViZWI1NGM4N2IzMGQzMTRjMmU2MDAxOThlNzhmZGJmYTQyNmU3NTFlMGY2ZDliMjYyODM4MzFhNGYzY2ZjMDIxNjM4YWFjNTAxNGEwOWE1YjJhMjFj"
},
"frame": {
"version": "1",
"name": "Example Frame",
"iconUrl": "https://mini-app-blog.orbiter.website/icon.png",
"homeUrl": "https://mini-app-blog.orbiter.website",
"imageUrl": "https://mini-app-blog.orbiter.website/image.png",
"buttonTitle": "Check this out",
"splashImageUrl": "https://mini-app-blog.orbiter.website/splash.png",
"splashBackgroundColor": "#eeccff",
"webhookUrl": "https://mini-app-blog.orbiter.website/api/webhook"
}
}I’m going to weak the fields for the frame info to match my actual Mini App name and image links.
{
"accountAssociation": {
"header": "eyJmaWQiOjYwMjMsInR5cGUiOiJjdXN0b2R5Iiwia2V5IjoiMHg0NTYxMzExNjFmODNDN0Q3ZkRBMTViMzJhNWY3QzIxRkQ0RTI3RTk2In0",
"payload": "eyJkb21haW4iOiJtaW5pLWFwcC1ibG9nLm9yYml0ZXIud2Vic2l0ZSJ9",
"signature": "MHgwZDNjMzQ5M2ZjZWNjMmY1OTg5Y2RlNjY0YjE3ZjVhZTY0NDFiNjFjMmZjN2ViZWI1NGM4N2IzMGQzMTRjMmU2MDAxOThlNzhmZGJmYTQyNmU3NTFlMGY2ZDliMjYyODM4MzFhNGYzY2ZjMDIxNjM4YWFjNTAxNGEwOWE1YjJhMjFj"
},
"frame": {
"version": "1",
"name": "Mini App Blog",
"iconUrl": "https://mini-app-blog.orbiter.website/logo.webp",
"homeUrl": "https://mini-app-blog.orbiter.website",
"imageUrl": "https://mini-app-blog.orbiter.website/social.png",
"buttonTitle": "Check this out",
"splashImageUrl": "https://mini-app-blog.orbiter.website/logo.webp",
"splashBackgroundColor": "#eeccff",
"webhookUrl": "https://mini-app-blog.orbiter.website/api/webhook"
}
}One thing we need to change here is the webhookUrl property. This is where Farcaster will send user information if someone subscribes to your blog by adding the Mini App. This is where a server would normally be running to store the data securely so you can use it to send notifications, and normally it can be a lot of work to get up and running yourself. Thankfully our friend Vrypan.eth has built an awesome tool called Ping’em. In order to use it you will need to login with a wallet that holds at least 10M $lemon3, a token that supports Vrypan and his endeavors. Once you’re logged in you can create a new app with the same domain made earlier, which in our cast is mini-app-blog.orbiter.website, and just like that Ping’em will provide us a webhook url to use! We’ll swap the old one out with the Ping’em one and we’re all set with our manifest.
Embed
The last thing we need to add is the embed meta tags for our Mini App. These work just like Open Graph tags which most websites or social media use to provide a preview for a link, very common with blogs especially. The embed tags we’ll make for Farcaster are specially designed to handle info like the text on the button, the URL that will be opened, and other smaller details like the icon that shows up while loading. Normally this would be in your index.html file, but for our Astro project we’ll be using a different spot. Every page in our blog uses a special template component to handle all of the meta tag information so it doesn’t have to be repeated over and over. In our tutorial and template this would be the src/components/BaseHead.astro file. Let’s open it up and add the following to the top.
---
import { ClientRouter } from 'astro:transitions'
import '../styles/fonts.css'
import '../styles/global.css'
export interface Props {
title: string
description: string
permalink: string
}
const { title, description, permalink } = Astro.props
const socialUrl = Astro.site.href + 'assets/social.png'
const fcData = JSON.stringify({
version: "next",
imageUrl: socialUrl,
button: {
title: "Read Blog",
action: {
type: "launch_frame",
name: "Read Blog",
url: permalink,
splashImageUrl: "https://mini-app-blog.orbiter.website/logo.webp",
splashBackgroundColor: "#eeccff"
}
}
})
---
<!-- Global Metadata -->
<meta charset="utf-8" />
<meta name="viewport" content="width=device-width" />
<link rel="icon" type="image/x-icon" href="/favicon.ico" />
<!-- Primary Meta Tags -->
<title>{title}</title>
<meta name="title" content={title} />
<meta name="description" content={description} />
<meta name="fc:frame" content={fcData} />
<!-- Rest of the meta tags -->Here we have the ability to utilize Astro’s powerful static site generation tools to add in things like dynamic image preview or URLs. Right now we just point to the static one, but the possibilities are there! Check out how I have my Astro site setup for this.
Deploy
Now we’re ready to launch our blog! Since we’re using Obiter it just takes three steps. First, install the Orbiter CLI with the following command.
npm i -g orbiter-cliOnce it’s installed we need to authorize it with the API key we made in the begging.
orbiter authAll that’s left is to run the deployment command!
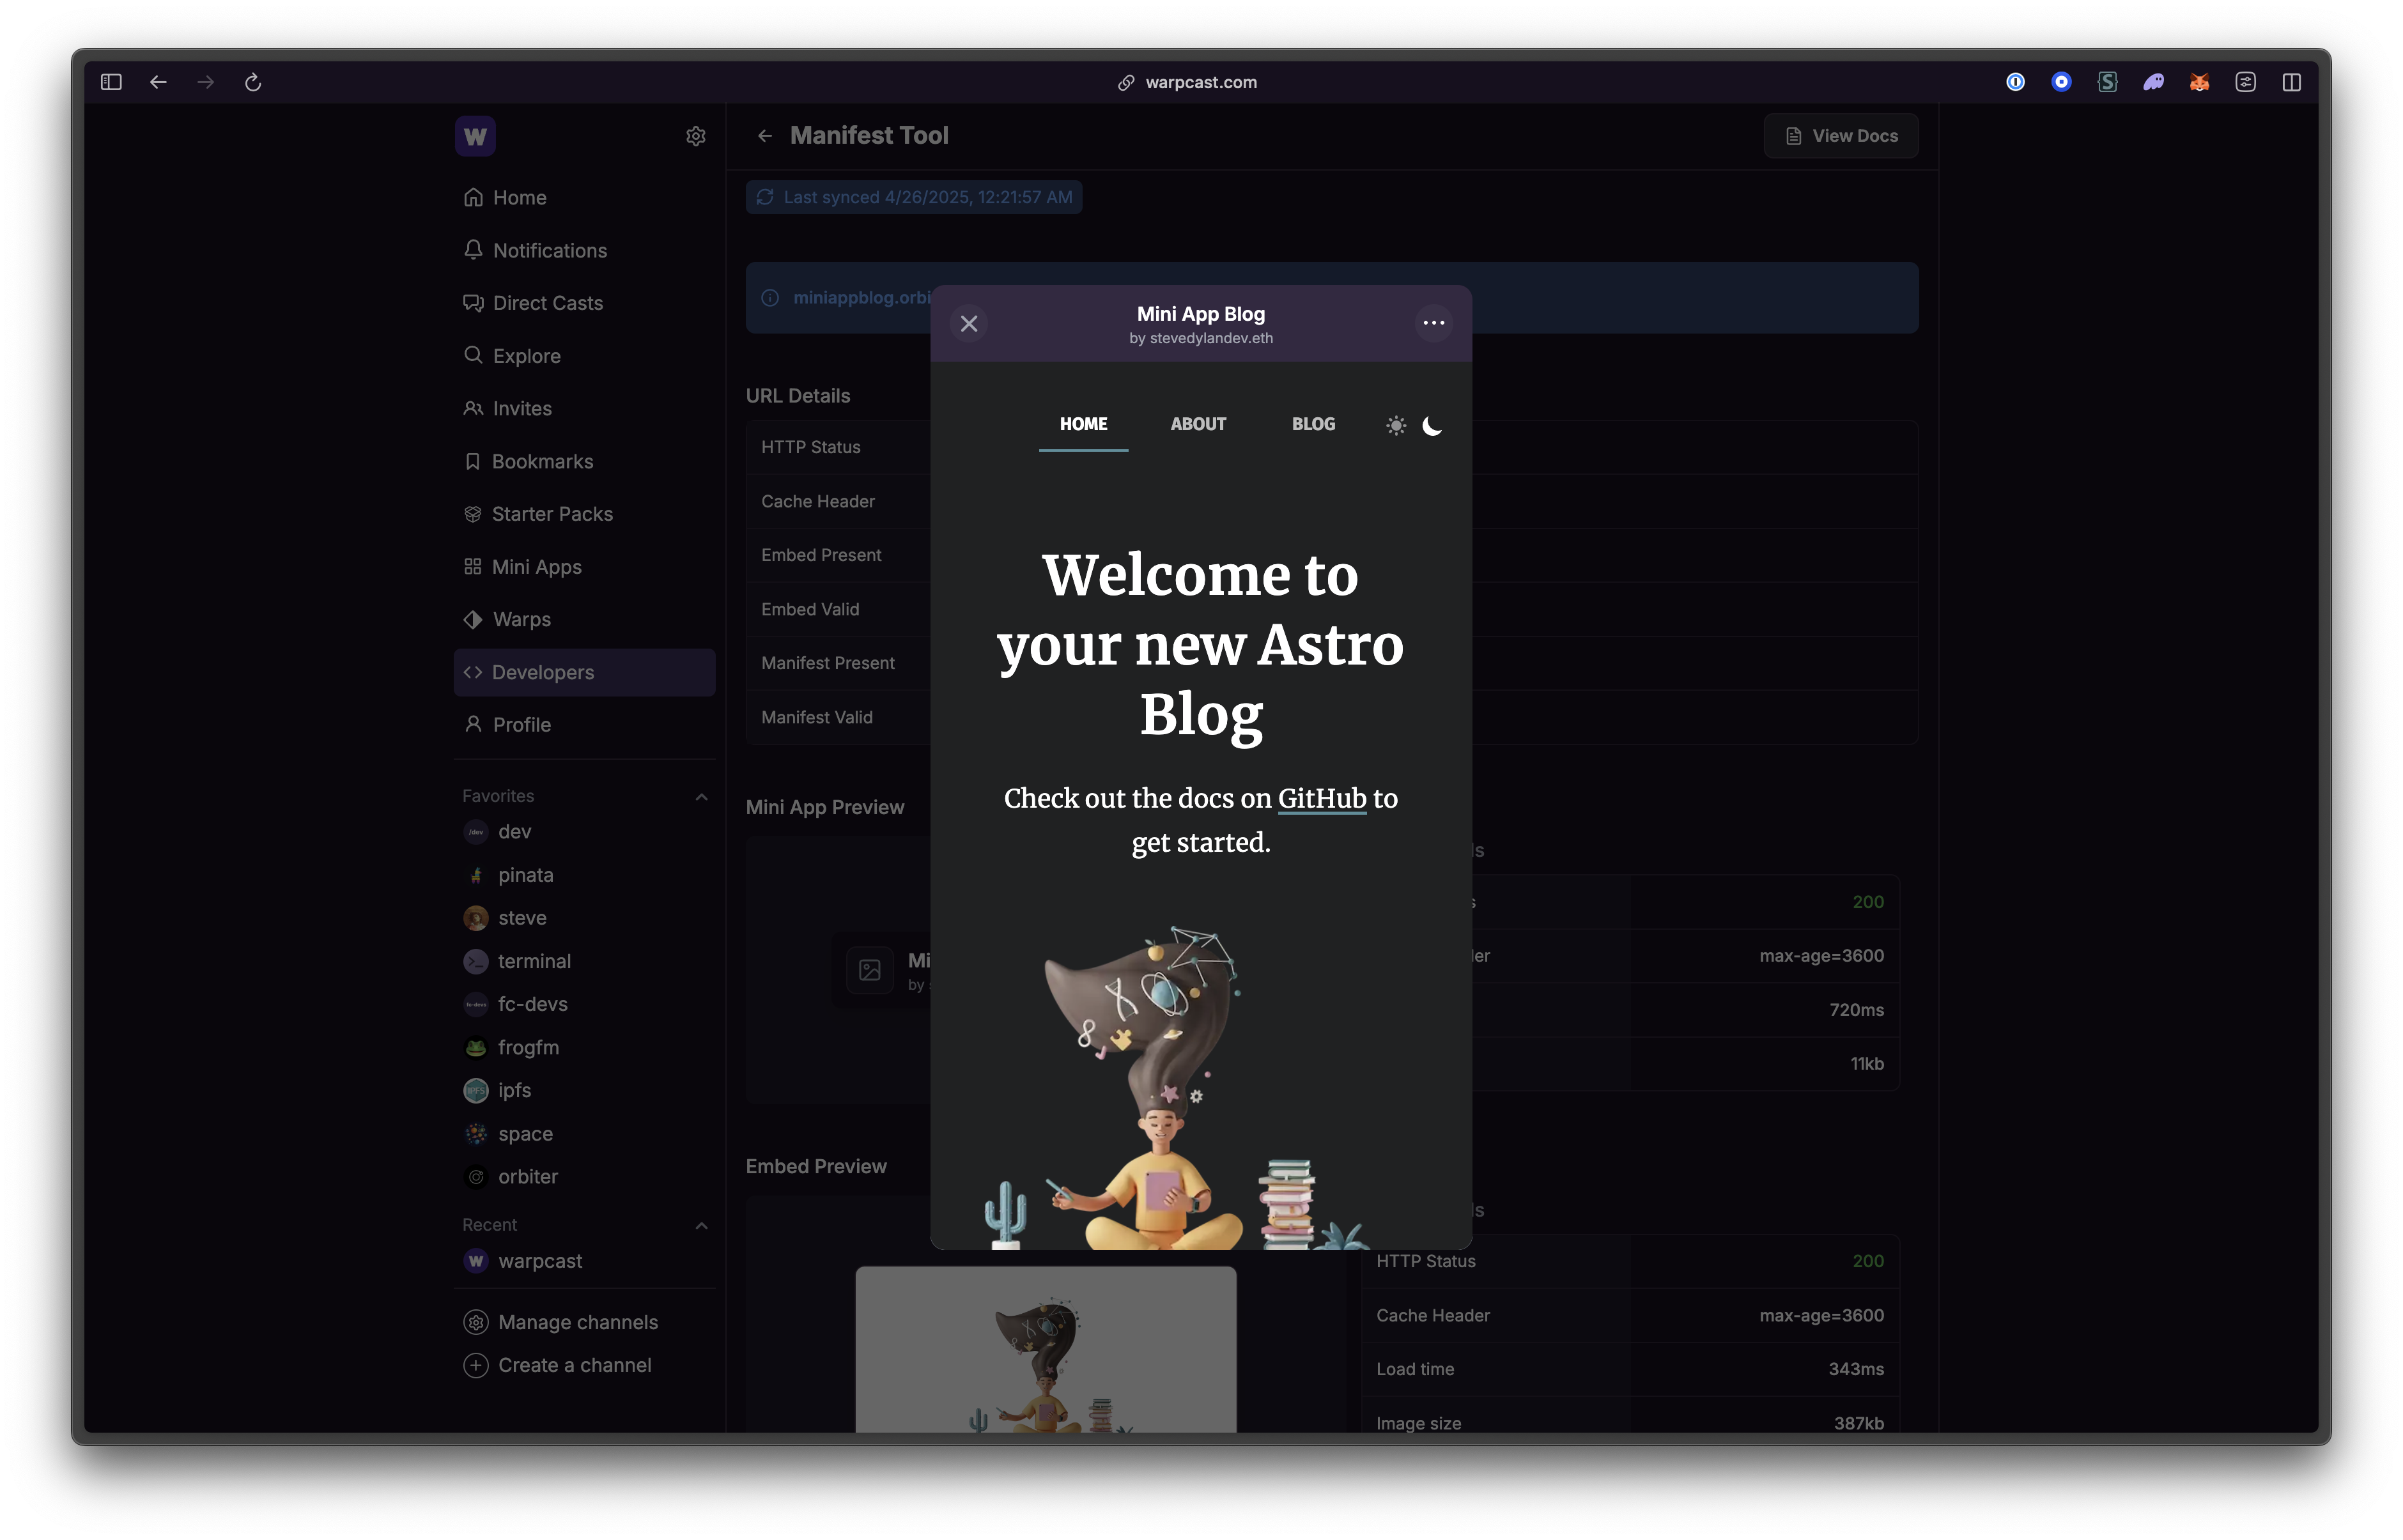
orbiter deployYou will want to provide the domain you picked out earlier, so in our example that would be mini-app-blog but you can customize to use whatever you’d like. Just make sure to update all the URLs we saw earlier, especially the manifest since that is signed by your Farcaster account. Once it’s deployed we can test it out in the Mini App dev portal here.
If you scroll to the very bottom you’ll see a place where you can claim ownership of the Mini App. This is the last step you need to make so people can subscribe to your app for notifications. This might change over time, but you will simply want to follow the instructions that show up on the screen. Then you’re done! share you blog on Farcaster and send push notifications through Ping’em, all while hosting the app on IPFS through Orbiter.
Signup for our Newsletter