Orbiter CLI: Launch a Site From the Terminal
Ever since I started learning programming and web development I’ve been obsessed with the terminal. It goes back to previous jobs where I worked in IBM “green screens” where I could zip around and gather data without having to leave my keyboard, and when I discovered tools like Neovim I knew I had to learn it. As the years have passed I still love using the terminal, but what I love doing even more is building CLIs. I get a rush anytime I have the opportunity to craft the experience of using the terminal, and it brings me joy giving other developers the DX they deserve. When it came to building Orbiter’s CLI it was no exception, and I really think you’ll enjoy! In this post I’ll show you how simple it can be to deploy a site to Orbiter using our CLI and several different options you have available.
Setup
To start using the Orbiter CLI you will need at least Node.js v20 installed. From one dev to another, I personally recommend fnm for managing Node versions! To make sure it’s installed run these two commands:
node --version
npm --versionNow we can go ahead and install the Orbiter CLI:
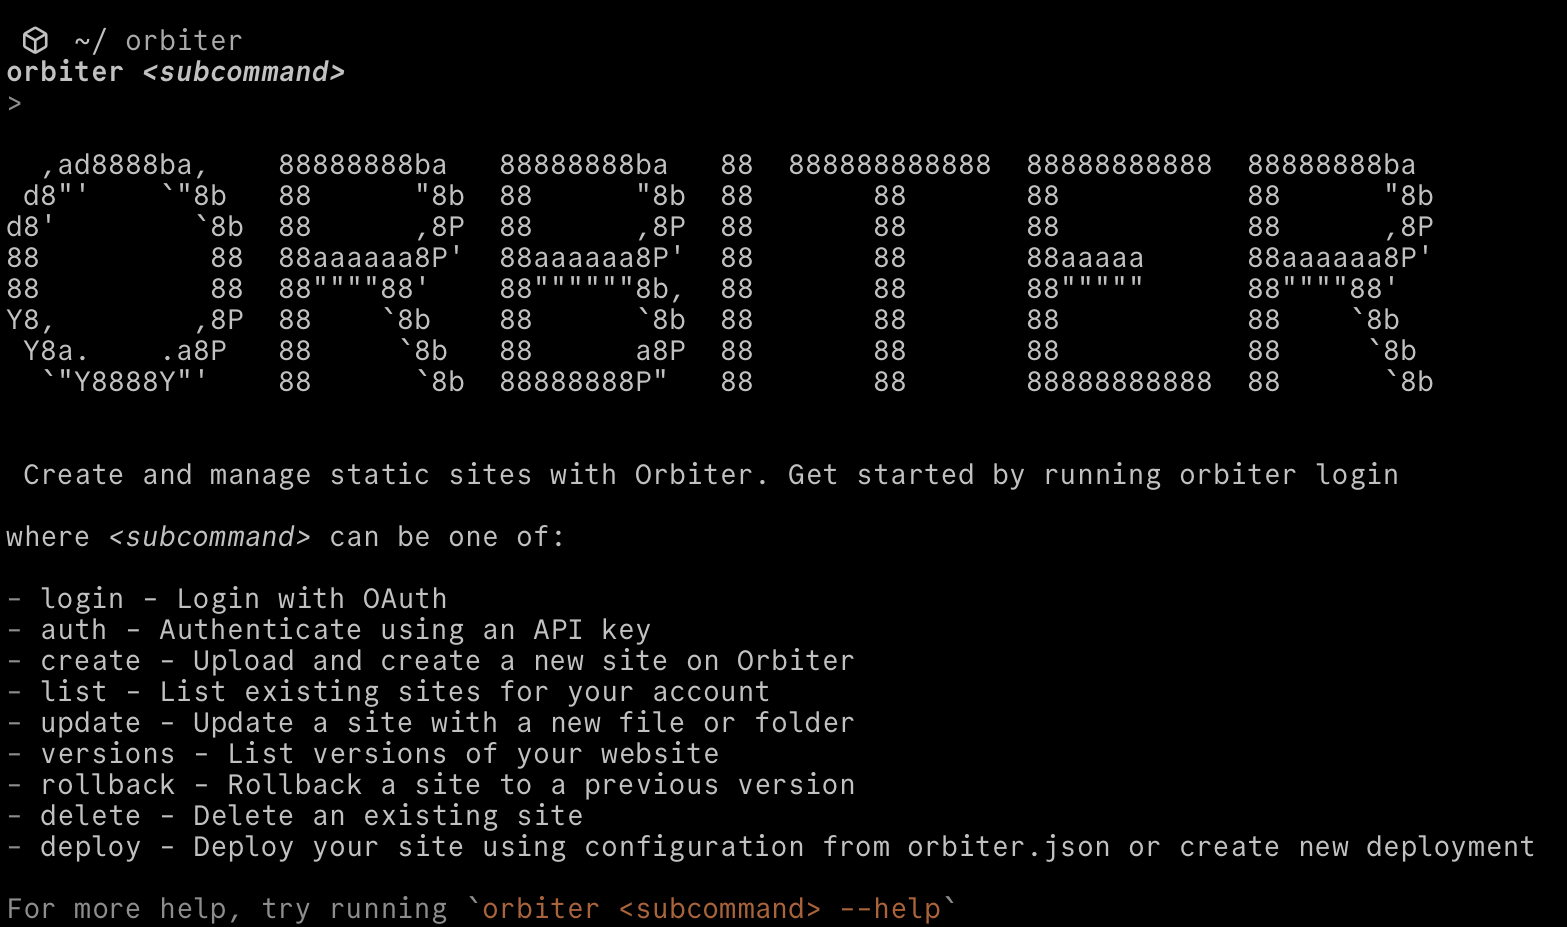
npm i -g orbiter-cliThat’s it! Now to authorize the CLI you have two options. You can either use OAuth to login through a web browser like so:
orbiter login -p google # or githubOr you can use an API Key which you can grab at app.orbiter.host/api-keys, which is what I prefer, then run:
orbiter authThis will prompt you to paste in your API key and will store it in your dotfiles. Alternatively you can set an environment variable called ORBITER_API_KEY and the CLI will be looking for that as well. Once that’s done you’re all set!
Usage
There are multiple ways you can update and mange your sites with the Orbiter CLI. If you’re using Javascript or Typescript frameworks like React, Astro, Svelte, etc. then perhaps the best way to deploy is using deploy.
orbiter deployThis will setup your project by asking a few questions:
- Create or Link - You can either create a new site on Orbiter or link it to a site already hosted through your account. If you choose link it will list all of your sites and let you choose one.
- Subdomain - If you are creating a new site the CLI will ask you for a chosen subdomain. For instance, I could use
my-cool-siteand then my full site after deploying would bemy-cool-site.[orbiter.website](http://orbiter.website). This is mostly so you can keep track of your sites but have fun with it too! Wear the free orbiter.website domain with pride 🫡 - Build Command - Here you can put in the build command you prefer to use for launching the site. This is generally something like
npm run buildbut feel free to use whatever package manager you’re using with whatever scripts you have setup. - Build Directory - Since we’re launching static sites there’s gotta be a folder of files to upload! Here you can put whatever your output directory is, whether it’s
build,dist,out, etc.
The CLI will then run the build command, upload the build folder, and create your site! You should end up with a link where you can visit your shiny new site 🤩 The real beauty of the deploy command is that it saves a config file to the root of your project called orbiter.json with all of your preferences and the site information. This means when you make future changes and need to update your site, just run orbiter deploy and it will automatically pick up the site info and update it! Slick right?
Now there are other ways you can deploy outside of frameworks. For instance, what if you’re doing something even simpler like a single HTML file? Or what if you want more control? In those cases the best commands to use would be create and update. If you had a single HTML file site you wanted to host, launching it would look something like this:
orbiter create -d my-html-site index.htmlWith the create command we use the flag -d to mark our subdomain (my-html-site) and then the path to our HTML file. This could also be a folder of files if we want it to be. If we want to update this site down the road, we would simply use the same pattern:
orbiter update -d my-html-site index.htmlEasy! You can go further though, as the Orbiter CLI is a binary which can be invoked without installing it locally! Yes you can run something like this:
export ORBITER_API_KEY=YOUR_API_KEY npx orbiter-cli create -d my-site distWith this approach you can implement the CLI into multiple workflows or remote deployments, and it actually is the root of how our GitHub actions works (which you should also check out). I could go on and on about all the other stuff our CLI can do, but what fun would that be? Check out the docs and see what else is possible! As is the case with all of our software, it’s open sourced too, so check out the repo here.
Orbiter’s goal is to simplify website hosting with open source software, and to make the web fun again. As you could probably tell I have a lot of fun working on Orbiter, especially if it means building a new CLI. As I right this I feel the temptation to rewrite it in other languages just for kicks (rust btw), but I think it’s much more important to take the time to tell you about it and show you how easy it is to use. Launch your next site with Orbiter!
Signup for our Newsletter