How To Host an Astro Site

Steve Simkins
Over the years building on the web has become so complicated that it’s hard to keep up with all the tools and standards. There’s many of us who enjoyed the simplicity of working with HTML CSS and Javascript back in the day, but we also find ourselves needing some modern advancements to handle the stuff we don’t want to touch. Similarly I think the same group of people feel the same way about hosting, where we don’t want to mess with build pipelines and messy errors, but we also don’t want to use FTP to a server. This is where Astro and Orbiter meet in the best way possible.
Astro is an interesting mix of old and new. Each .astro file is essentially an HTML file with super powers, with features like props, generating static content, and more. It’s ideal for publishing content and getting great SEO as well as fast speeds. Using it feels like writing just HTML CSS and Javascript, but you can also incorporate UI frameworks like React, Vue, Solid.js, and Svelte as individual components to keep things flexible. Truly it is a master class in static website frameworks with one of the best developer experiences out there.
In this post we’ll show you how to host an Astro site on Orbiter, which embodies the same principles of having a wonderful developer experience but with no sacrifice to performance and open garden access. We actually host this website on Astro and love the workflow, and we think you will too. Let’s dig into it!
Setup
In order to follow this tutorial you’ll want the following:
- An account on Orbiter: sign up for a free account in less than a minute.
- Node.js (version 20 or higher, I personally like using this tool for installing and managing Node versions)
- A text editor like VSCode (or Zed if you’re cool 😉 )
That’s it! Once you’ve got all your tools together let’s open the terminal and run this command:
npm create astro@latest orbiter-siteThis will run a lovely install walkthrough about what your preferences. I personally would recommend the following:
  tmpl   How would you like to start your new project?
	         ● A basic, minimal starter (recommended)
	deps   Install dependencies? (recommended)
           ● Yes
  git   Initialize a new git repository? (optional)
           ● Yes
Once it’s finished installing you can open the folder orbiter-site with your text editor and move to the next step.
Build
When you open up the project directory you should see the following structure:
.
├── README.md
├── astro.config.mjs
├── package-lock.json
├── package.json
├── public
│   └── favicon.svg
├── src
│   ├── assets
│   │   ├── astro.svg
│   │   └── background.svg
│   ├── components
│   │   └── Welcome.astro
│   ├── layouts
│   │   └── Layout.astro
│   └── pages
│       └── index.astro
└── tsconfig.json

7 directories, 11 files
The template is designed to give you a feel for all the pieces that go into an Astro website. Let’s briefly go over each of them:
Assets
This is where you can keep images that you want to use in your site. The public directory works too, this is just a bit friendlier and will bundle it all together and keep it neat.
Pages
Pages are how you designate different routes. For instance, you could create a new folder inside of pages called about, then put an index.astro file in there. This would create the path /about on your website. Let’s look inside the pages/index.astro
---
import Welcome from '../components/Welcome.astro';
import Layout from '../layouts/Layout.astro';

// Welcome to Astro! Wondering what to do next? Check out the Astro documentation at https://docs.astro.build
// Don't want to use any of this? Delete everything in this file, the `assets`, `components`, and `layouts` directories, and start fresh.
---

<Layout>
	<Welcome />
</Layout>
All we have here are two simple pieces, a Layout and a Welcome component. That’s a perfect intro into the next part of Astro.
Layouts
These are similar to pages or components, but they’re specially designed to work as the framing inside your pages to go around your components. Let’s peek inside the default layouts/Layout.astro file:
<!doctype html>
<html lang="en">
	<head>
		<meta charset="UTF-8" />
		<meta name="viewport" content="width=device-width" />
		<link rel="icon" type="image/svg+xml" href="/favicon.svg" />
		<meta name="generator" content={Astro.generator} />
		<title>Astro Basics</title>
	</head>
	<body>
		<slot />
	</body>
</html>

<style>
	html,
	body {
		margin: 0;
		width: 100%;
		height: 100%;
	}
</style>
As you can see it’s used to help define some of the default HTML and basic styles that you normally would have to include with every HTML page. Between the <body> tags is the <slot /> tag where content can go. With this model you can apply default styles, dynamic metadata, and more, all without having to write the same HTML scaffolding over and over.
Components
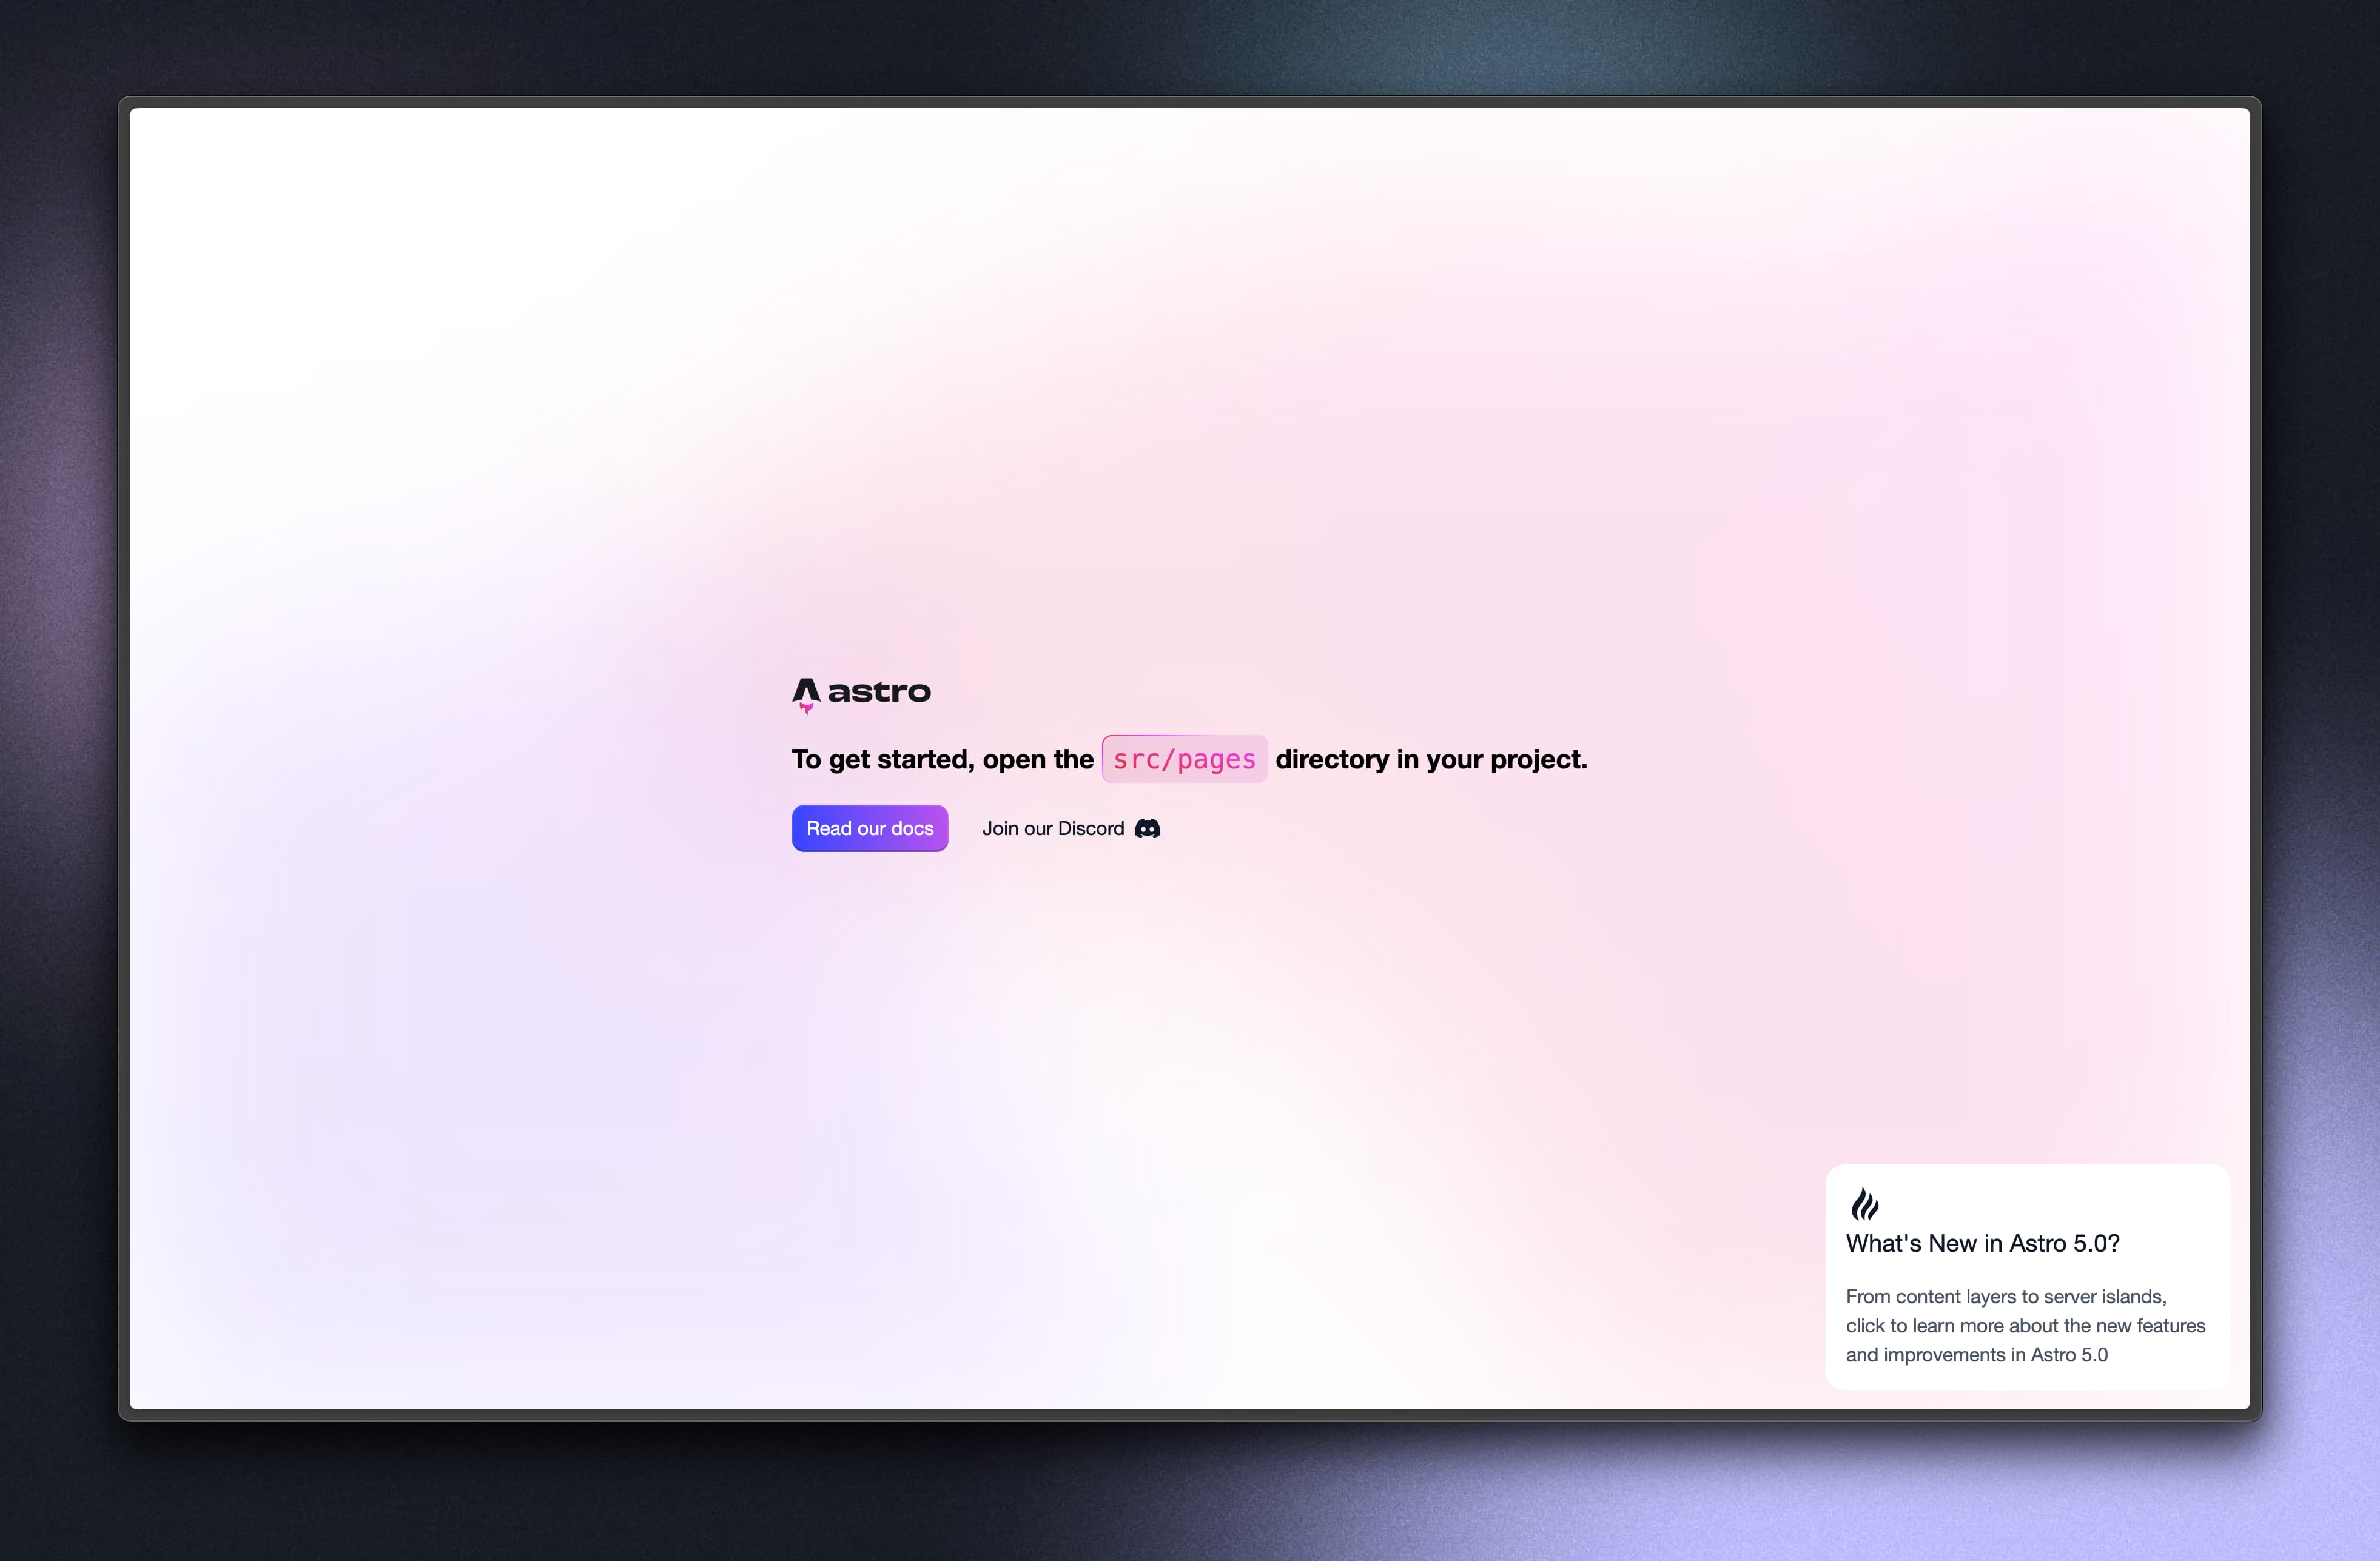
Inside that <slot> tag from the Layout is where we can put our components. This is generally the meat and potatoes of your website, so let’s examine the Welcome.astro component:
---
import astroLogo from '../assets/astro.svg';
import background from '../assets/background.svg';
---

<div id="container">
	<img id="background" src={background.src} alt="" fetchpriority="high" />
	<main>
		<section id="hero">
			<a href="https://astro.build"
				><img src={astroLogo.src} width="115" height="48" alt="Astro Homepage" /></a
			>
			<h1>
				To get started, open the <code><pre>src/pages</pre></code> directory in your project.
			</h1>
			<section id="links">
				<a class="button" href="https://docs.astro.build">Read our docs</a>
				<a href="https://astro.build/chat"
					>Join our Discord <svg xmlns="http://www.w3.org/2000/svg" viewBox="0 0 127.14 96.36"
						><path
							fill="currentColor"
							d="M107.7 8.07A105.15 105.15 0 0 0 81.47 0a72.06 72.06 0 0 0-3.36 6.83 97.68 97.68 0 0 0-29.11 0A72.37 72.37 0 0 0 45.64 0a105.89 105.89 0 0 0-26.25 8.09C2.79 32.65-1.71 56.6.54 80.21a105.73 105.73 0 0 0 32.17 16.15 77.7 77.7 0 0 0 6.89-11.11 68.42 68.42 0 0 1-10.85-5.18c.91-.66 1.8-1.34 2.66-2a75.57 75.57 0 0 0 64.32 0c.87.71 1.76 1.39 2.66 2a68.68 68.68 0 0 1-10.87 5.19 77 77 0 0 0 6.89 11.1 105.25 105.25 0 0 0 32.19-16.14c2.64-27.38-4.51-51.11-18.9-72.15ZM42.45 65.69C36.18 65.69 31 60 31 53s5-12.74 11.43-12.74S54 46 53.89 53s-5.05 12.69-11.44 12.69Zm42.24 0C78.41 65.69 73.25 60 73.25 53s5-12.74 11.44-12.74S96.23 46 96.12 53s-5.04 12.69-11.43 12.69Z"
						></path></svg
					>
				</a>
			</section>
		</section>
	</main>

	<a href="https://astro.build/blog/astro-5/" id="news" class="box">
		<svg width="32" height="32" fill="none" xmlns="http://www.w3.org/2000/svg"
			><path
				d="M24.667 12c1.333 1.414 2 3.192 2 5.334 0 4.62-4.934 5.7-7.334 12C18.444 28.567 18 27.456 18 26c0-4.642 6.667-7.053 6.667-14Zm-5.334-5.333c1.6 1.65 2.4 3.43 2.4 5.333 0 6.602-8.06 7.59-6.4 17.334C13.111 27.787 12 25.564 12 22.666c0-4.434 7.333-8 7.333-16Zm-6-5.333C15.111 3.555 16 5.556 16 7.333c0 8.333-11.333 10.962-5.333 22-3.488-.774-6-4-6-8 0-8.667 8.666-10 8.666-20Z"
				fill="#111827"></path></svg
		>
		<h2>What's New in Astro 5.0?</h2>
		<p>
			From content layers to server islands, click to learn more about the new features and
			improvements in Astro 5.0
		</p>
	</a>
</div>

<style>
	#background {
		position: fixed;
		top: 0;
		left: 0;
		width: 100%;
		height: 100%;
		z-index: -1;
		filter: blur(100px);
	}

	#container {
		font-family: Inter, Roboto, 'Helvetica Neue', 'Arial Nova', 'Nimbus Sans', Arial, sans-serif;
		height: 100%;
	}

	-- Styles continued... --
</style>
Here we have normal HTML markup with tags, styles, and scripts if we wanted to include them. What makes these special and different from normal HTML is the front matter at the top of the page. This is where you can dynamically import other components or assets to be used in your site.
Deploy
So we have our site, let’s see what deployment looks like. It’s really simple actually; first thing you want to do is open the astro.config.mjs file and add in the following code:
// @ts-check
import { defineConfig } from 'astro/config';

// https://astro.build/config
export default defineConfig({
  output: 'static'
});
This is the only config change we need to make our Astro site deploy as a static site. Now you can run the following command to build the site:
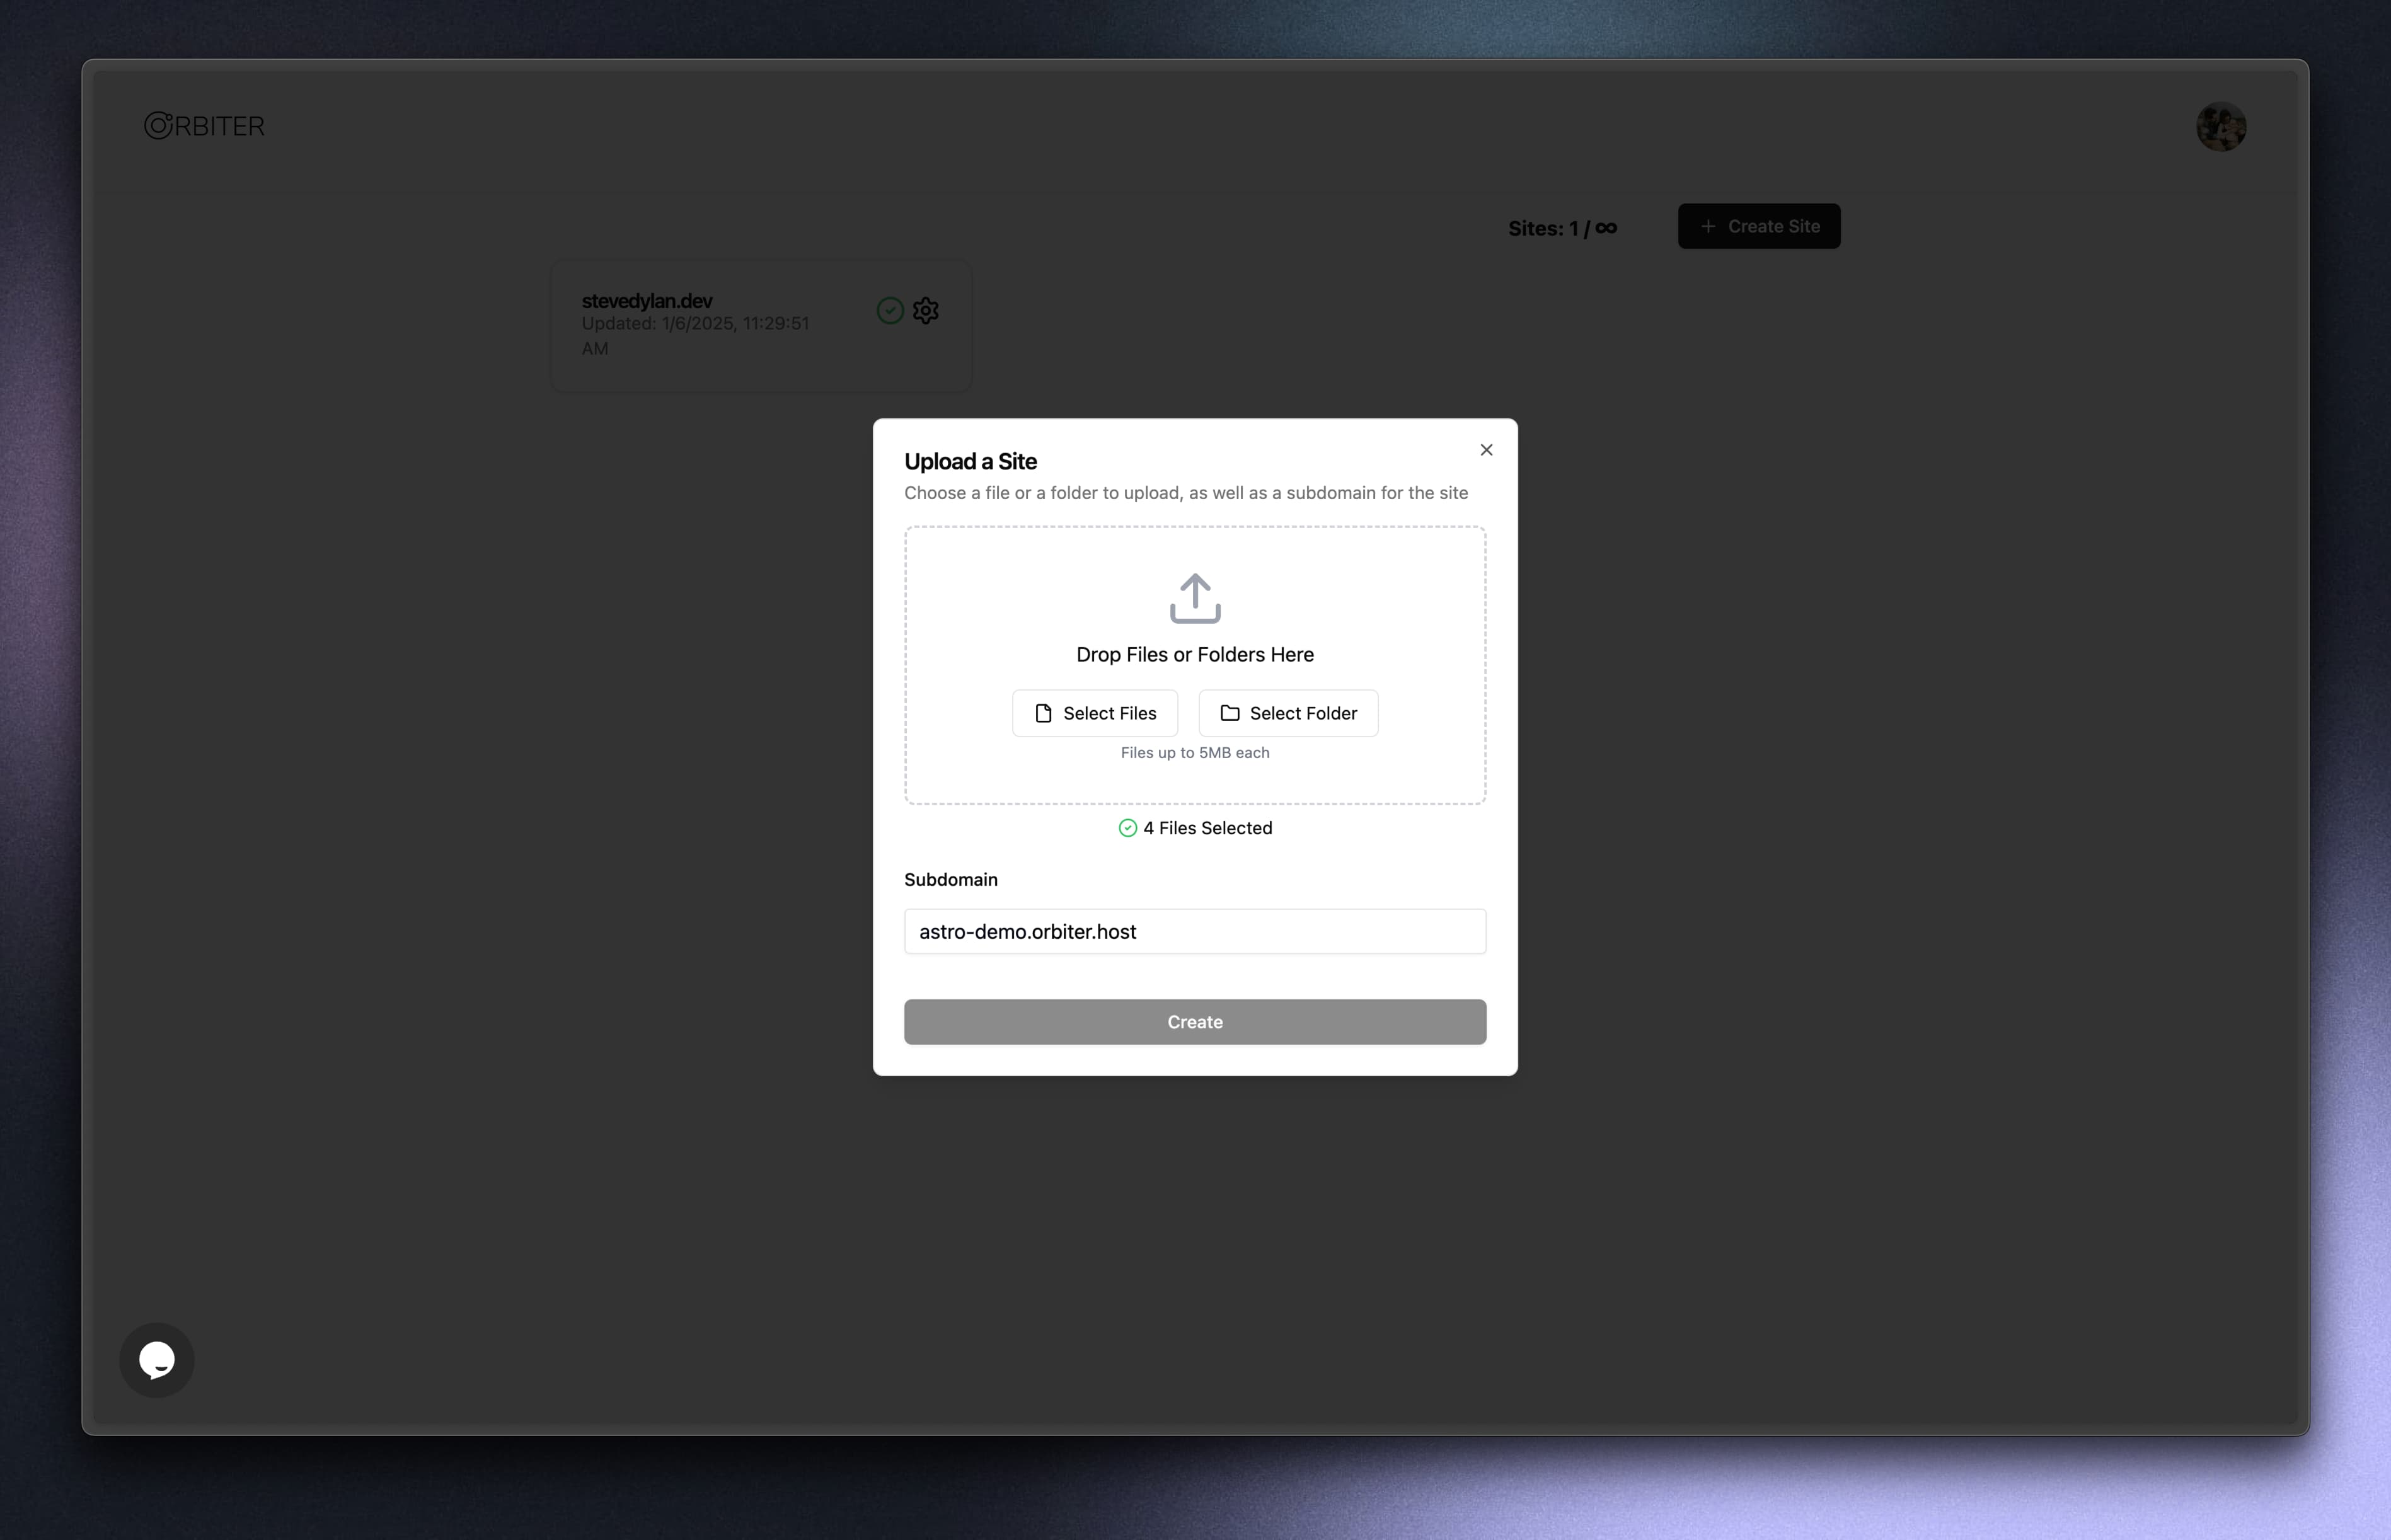
npm run buildYou should see it build and deploy a dist folder. This is what we’ll upload to Orbiter now! Visit app.orbiter.host and login. Once you’re logged in just click “Create Site” in the top right and drag and drop the dist folder, and give it a name.
Once completed you should see the site on the dashboard; just click to visit!
It’s seriously that simple to get an Astro site hosted on Orbiter, but I got one last trick for ya 👀
At Orbiter we’ve just released our CLI, which will let you upload sites even faster! Run the command below to install it:
npm i -g orbiter-cliOnce it’s installed just run orbiter login --provider google or github depending on your preference. After logging in, creating a site is just one command:
orbiter create --domain astro-demo ./distWithin just 20-30 seconds you should see a link to your new site. Updating is also easy, and I personally like integrating it into the package.json. First run orbiter list to see your sites and grab the id of your site. Then in your package.json add the deploy to the scripts:
  "scripts": {
    "dev": "astro dev",
    "build": "astro build",
    "preview": "astro preview",
    "astro": "astro",
    "deploy": "astro build && orbiter update --siteId <your-site-id> ./dist"
  },
Make sure to replace <your-site-id> with your own site id, then when you run npm run deploy it will update your orbiter site just like that!
Wrapping Up
While there’s a lot of confusion and complexity in today’s web ecosystem, it doesn’t have to be that way. You as a creator have the ability to choose what you build with, and we believe you should choose what makes you excited. Life is too short to use frameworks and hosting infra that makes you unhappy, so be sure to try Astro and Orbiter today!


