How To Host a React Site

Justin Hunter
React remains the most dominant JavaScript frontend framework in the market. From full-blown web apps to simple personal sites, React is often used to build static content. But what happens when the site is created? How do you host your new React site.
In this tutorial, we’ll walk through building a simple React site and hosting it on Orbiter for free.
Getting started
Orbiter doesn’t require a lot of technical knowledge, but building a React site takes some knowledge and tools. Here’s what you’ll need:
- Node.js installed on your computer
- A text editor like VS Code
- A free Orbiter account (sign up here)
With that, you have enough to build your React site. Let’s dive in.
Building the site
To get started, you’ll need to use your terminal or command prompt application. Open that up and navigate into the directory where you want to keep your project:
cd YOUR_PROJECT_FOLDERIf you don’t have a project folder, you can create one easily like this:
mkdir my-projectsThen from inside your projects folder, run the following command:
npm create vite@latestWe’re using a tool called Vite to create the React project. It will ask you questions as it creates the project in your directory. You’ll be asked to give your project a name. You can call it whatever you want. I’m just going to use my-site as the name.
Next, you’ll be asked what framework you want to use. Choose React. The next question defaults to using Typescript. That’s fine, we’re not doing anything complicated.
This will create your project directory and it will output instructions on what to do next that look like this:
  cd my-site
  npm install
  npm run dev
Follow those instructions, and you’ll be able to open your site in a web browser at http://localhost:5173.
Of course, this is not YOUR site. Let’s customize it. Open the my-site (or whatever you called your project) folder in your text editor of choice. Then in the src folder, open the App.tsx file. Replace everything in that file with your own customization. Here’s a simple replacement:
import './App.css'

function App() {
  return (
    <div>
      <h1>My Site</h1>
      <p>Hello, world! This is my site</p>
    </div>
  )
}

export default App
When you have customized the code to your liking, it’s time to build your site and upload it to Orbiter.
Hosting your site
Now that we have a site built in React, it’s time for the easiest part. At least, it’s easiest if you’re using Orbiter. You need to first build your site. From the terminal, run this command:
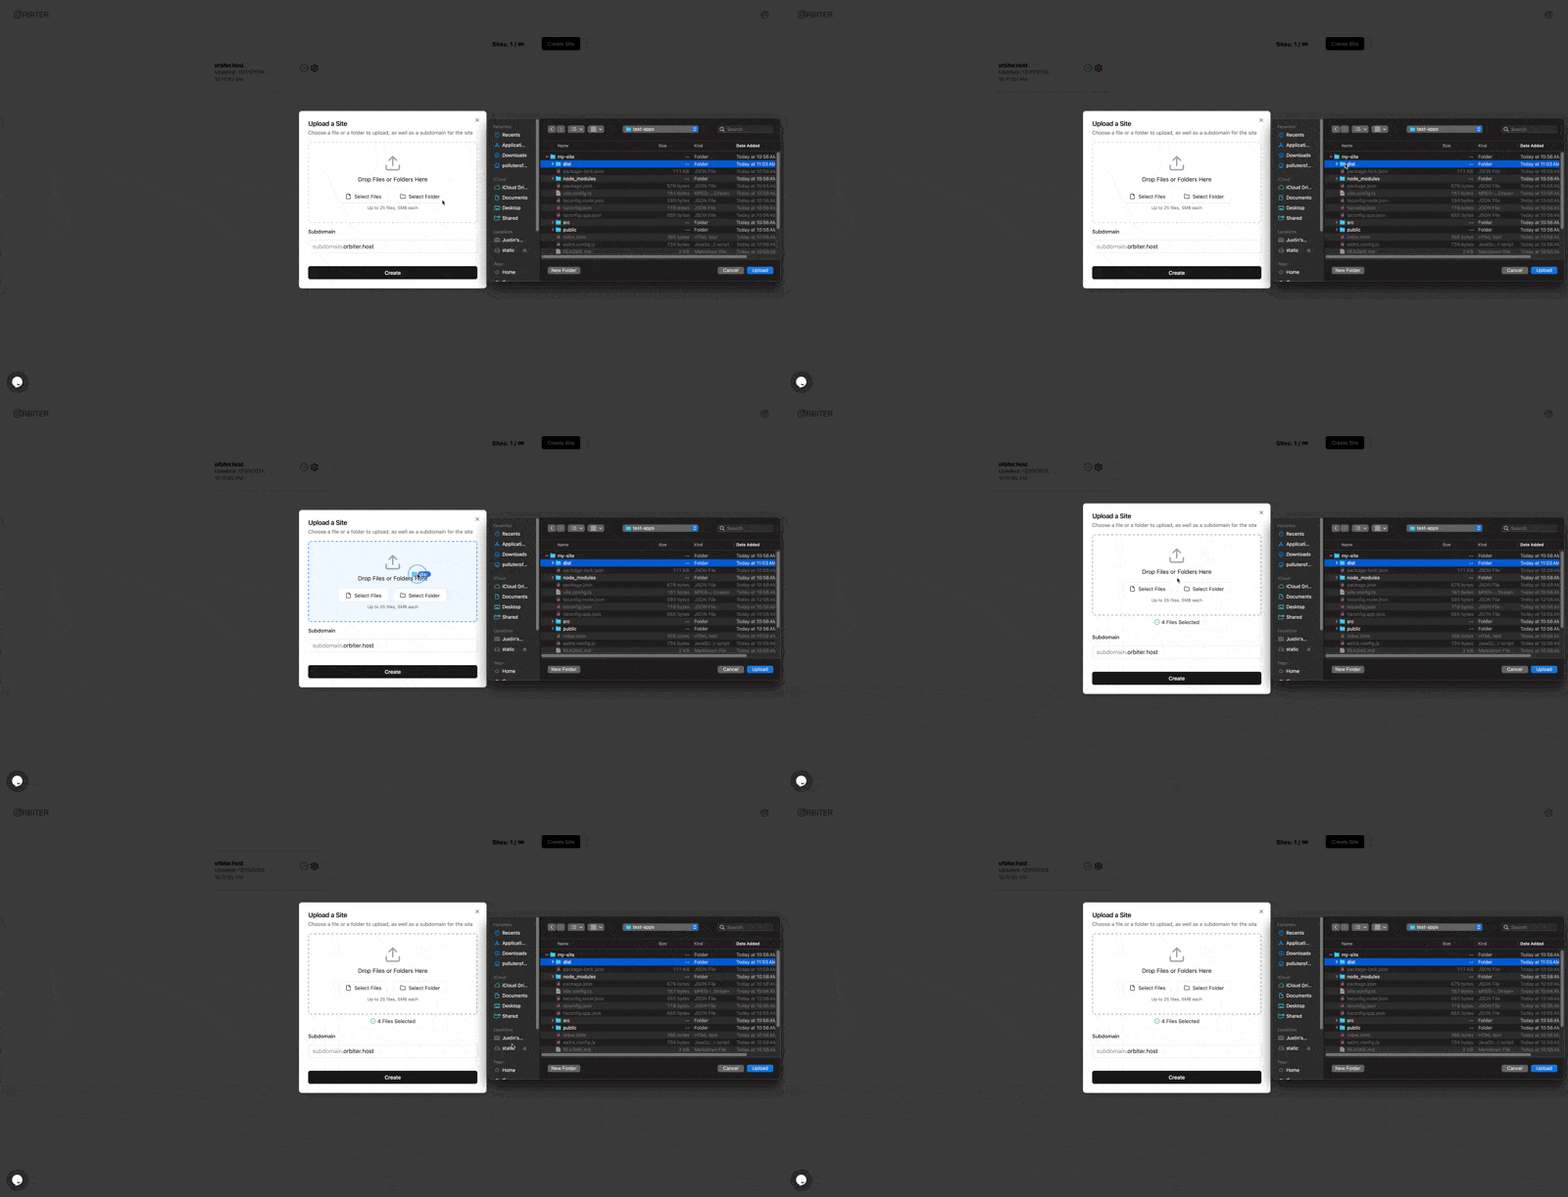
npm run buildThis will create a dist folder in your project directory. You’ll want to upload that folder to Orbiter. Log into Orbiter, then click the Create Site button. You can drag the dist folder into the modal or you can click the select folder button.
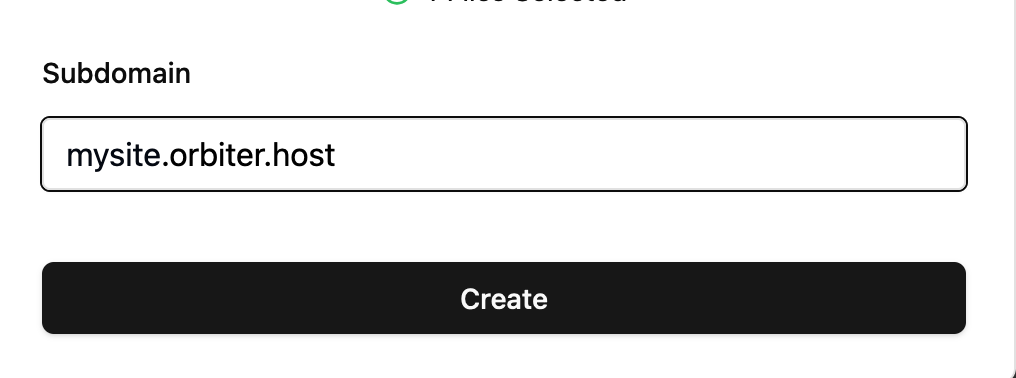
Next, give your site a name (this should be a single word with no punctuation).
Click Create, and in seconds your site will be online. From the Orbiter dashboard you can click the link to view your site, or you can type it into your web browser. Your site’s domain will be:
yoursubdomain.orbiter.hostAnd just like that, you have a hosted website built in React!
Conclusion
Hosting React sites and apps doesn’t need to be complicated. With Orbiter, you can do it in a few seconds. If you have a React site you’re ready to host, give Orbiter a shot today.


