How To Build and Host an 11ty Site

There are numerous static site generators available, but 11ty has a soft spot in my heart. I first experienced 11ty when the open source project first launched and I spend a good amount of time building and customizing a friend’s website that was based on 11ty. With over 17,000 stars on Github and a vibrant community, 11ty is a great tool for people who want to build static websites.
Today, we’re going to build a simple static website with 11ty, and we’re going to host it on Orbiter (of course). To get started, we’ll need:
- An Orbiter free account
- Node.js version 18 or higher
- A code editor
Building the site
Our site will be a simple collection of links. For the youngsters, this was a common thing website did back in the day. They would link to friends’ sites, cool things found on the internet, and just random stuff. It was fun, and Orbiter is bringing fun back to the web. So, a Cool Links site is what we’re building.
To get started, open your terminal program. Now, create a new folder for our site like this:
mkdir cool-linksChange into that folder with this command:
cd cool-linksTo set up the necessary dependencies for our site and to allow 11ty to do its magic, we need to initialize our project like this:
npm init -yWhen that’s done, we’ll run one more command to update our project to support more modern syntax:
npm pkg set type="module"Now, we can install 11ty as a dependency to our project like this:
npm install @11ty/eleventyNow, open your project in the code editor of your choice (I like VS Code, but Steve like Zed). We are now going to create out main page. Create a new file called index.md.
Wait, .md? Some of you might recognize that this is a markdown file. Aren’t we building a website with HTML?
We are! One of 11ty’s cool features is you can create these “template files” in markdown, html, Liquid and more. These are all technically templating languages.
Inside your index.md file, add the following:
# Cool Links
## Because if your link is cool, it stays hot
### Sports
* [Fansided](https://fansided.com/)
* [Korked Bats](https://korkedbats.com/)
* [The Roar](https://www.theroar.com.au/cricket/)
### Tech
* [Steve's Blog](https://stevedylan.dev)
* [Justin's Blog](https://polluterofminds.com)
* [Hacker News](https://news.ycombinator.com)
### Food
* [Eater](https://www.eater.com/)
* [Smitten Kitchen](https://smittenkitchen.com/)
* [A Cozy Kitchen](https://www.acozykitchen.com/)If you’re not familiar with markdown syntax, it’s relatively easy to pick up. You can read more here. Please change the links for your cool links site. Feel free to keep Steve’s and my blogs though. I think we are pretty cool (and both our sites are hosted on Orbiter).
Now, here comes the magic! In your terminal run this command:
npx @11ty/eleventy --serve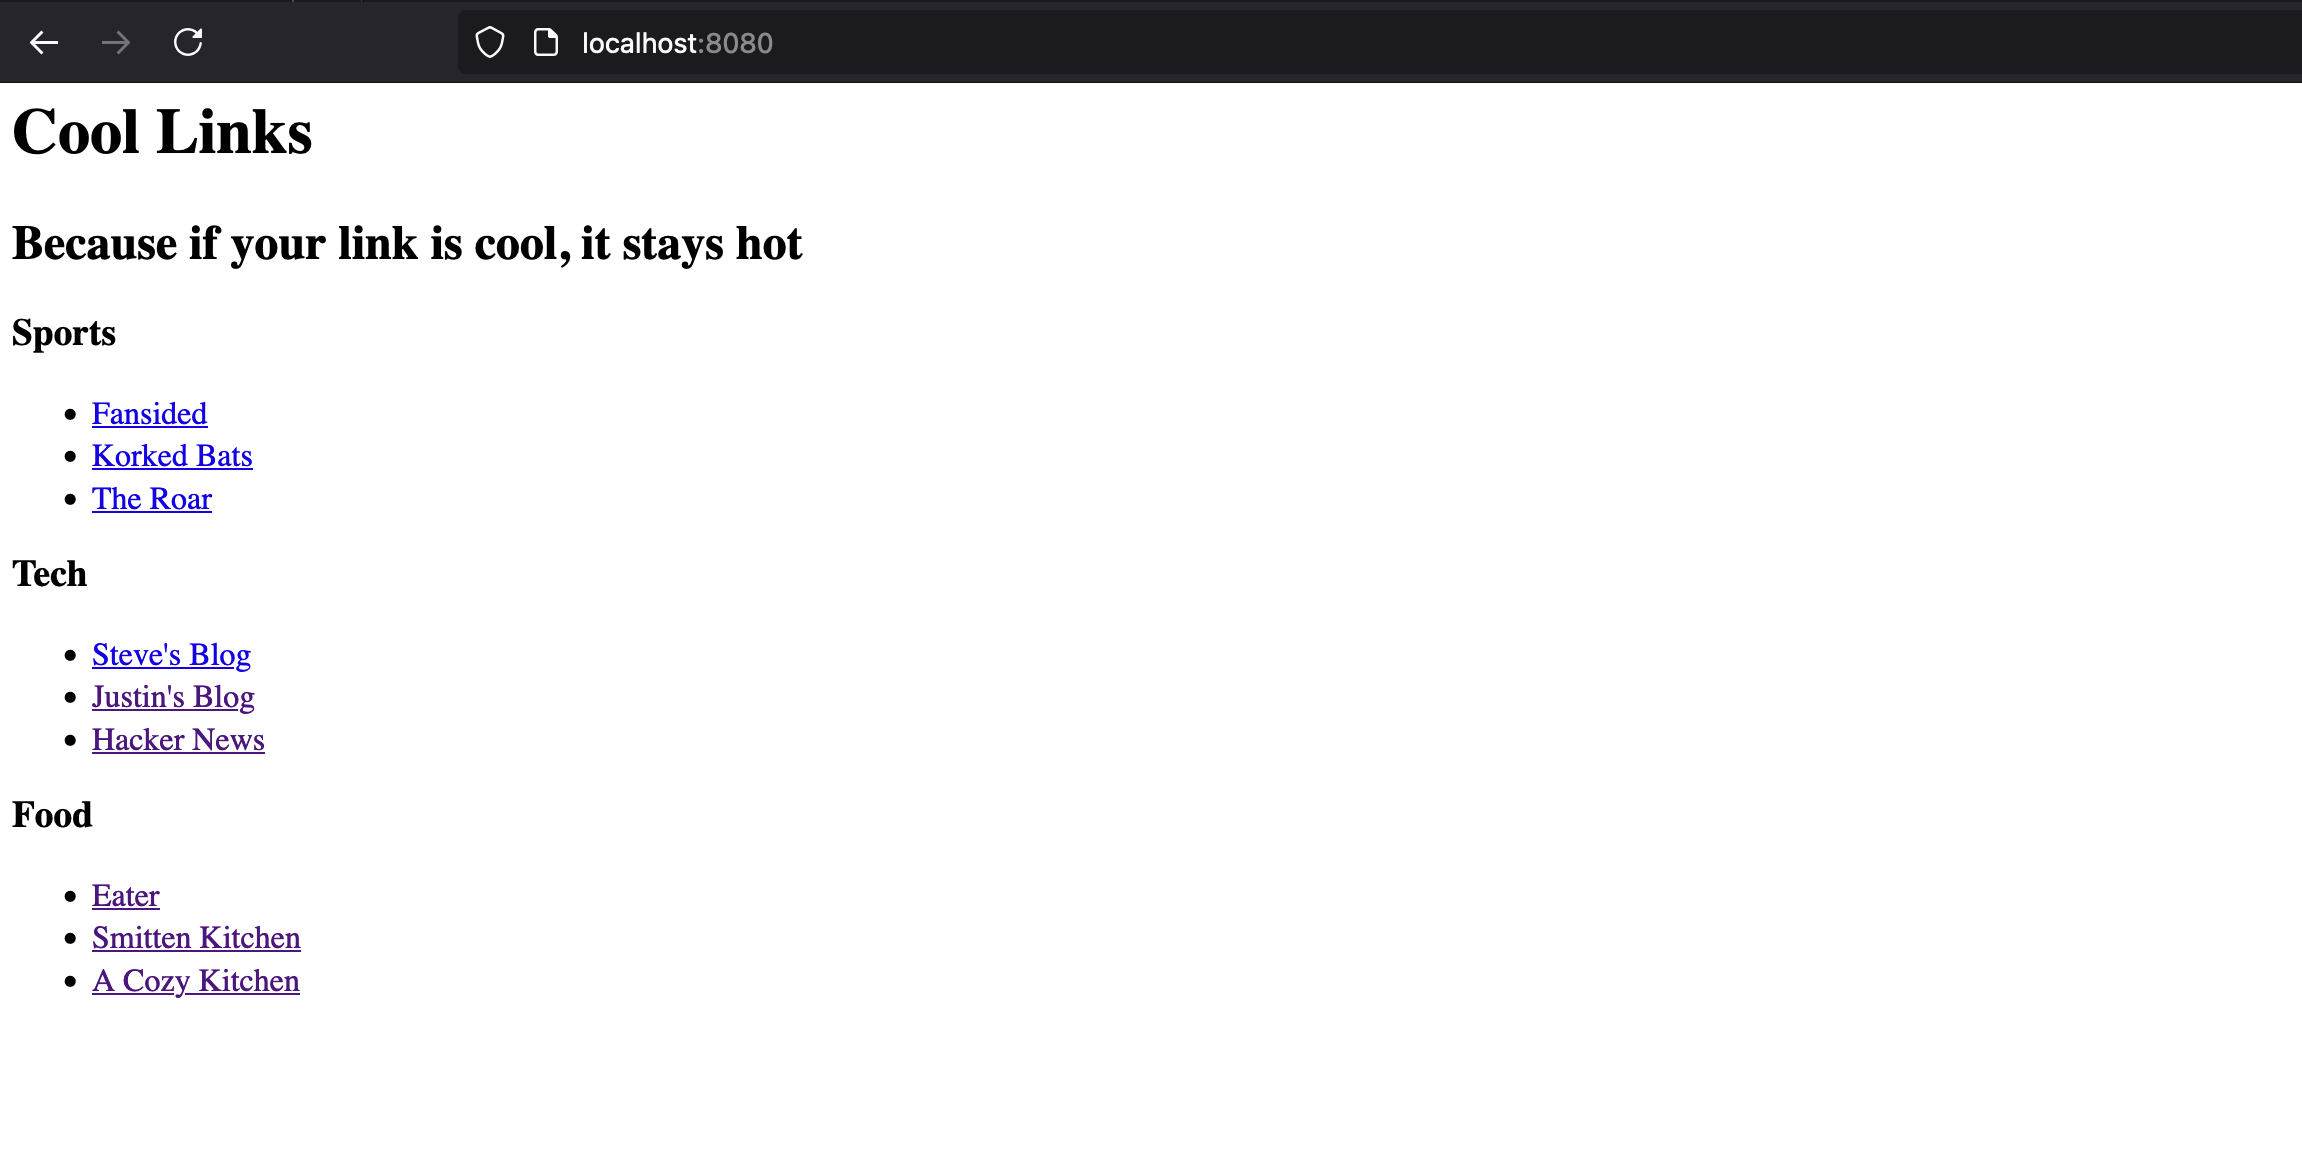
This is fine, but we want to add some of that old school web feel with some styling. But how do we style a markdown file?
It’s actually really simple. Back in your index.md file, add the following to the top of your page:
---
layout: index
css: /styles/main.css
---Now, create a folder called styles and add a file called main.css. Inside your CSS file, let’s work some magic. Add the following CSS to bring your website back in time:
body {
background: #000080;
color: #ffffff;
font-family: "Times New Roman", Times, serif;
max-width: 800px;
margin: 20px auto;
padding: 20px;
}
body {
border: 2px solid;
border-color: #c0c0c0 #808080 #808080 #c0c0c0;
background: #000080 url("data:image/png;base64,iVBORw0KGgoAAAANSUhEUgAAAAYAAAAGCAYAAADgzO9IAAAABHNCSVQICAgIfAhkiAAAAAlwSFlzAAALEgAACxIB0t1+/AAAABx0RVh0U29mdHdhcmUAQWRvYmUgRmlyZXdvcmtzIENTNXG14zYAAAAWdEVYdENyZWF0aW9uIFRpbWUAMDQvMTAvMTWSz+kGAAAALElEQVQImWP8//8/AzbAhFUEnyATNkGwIANOQbgIXBAnA24RJMCKT5AJnyAAACuYCfnv6zL+AAAAAElFTkSuQmCC") repeat;
}
h1 {
color: #ffff00; /* Bright yellow */
text-align: center;
font-size: 36px;
text-shadow: 2px 2px #ff0000;
margin-bottom: 30px;
font-family: "Trebuchet MS", Arial, sans-serif;
}
h2 {
color: #00ff00;
text-align: center;
font-style: italic;
margin-bottom: 40px;
}
h3 {
color: #ff00ff;
border-bottom: 2px solid #ff00ff;
padding-bottom: 5px;
margin-top: 30px;
font-family: "Arial Black", Gadget, sans-serif;
}
ul {
list-style-type: none;
padding-left: 20px;
}
li {
margin: 10px 0;
padding: 5px;
border: 2px solid;
border-color: #ffffff #808080 #808080 #ffffff;
background: #000080;
width: fit-content;
}
a {
color: #00ffff;
text-decoration: underline;
font-weight: bold;
}
a:visited {
color: #ff00ff;
}
a:hover {
color: #ffff00;
text-decoration: none;
background: #ff0000;
}
h2 {
animation: rainbow 6s infinite;
}
@keyframes rainbow {
0% { color: #ff0000; }
20% { color: #ffff00; }
40% { color: #00ff00; }
60% { color: #00ffff; }
80% { color: #ff00ff; }
100% { color: #ff0000; }
}
body::after {
content: "🚧";
position: fixed;
bottom: 20px;
right: 20px;
font-size: 40px;
animation: bounce 1s infinite;
}
@keyframes bounce {
0%, 100% { transform: translateY(0); }
50% { transform: translateY(-10px); }
}Now, to make the CSS and markdown template work together, we have to tell 11ty how to build our files. In the root of your project, create a folder called _includes. Inside that folder, add an index.html file. I know we’re using markdown to create this, so why do we have to also create it here? Well, we’re not actually creating our full HTML file. We’re creating a mapping. Add the following to your index.html file:
<!DOCTYPE html>
<html>
<head>
<meta charset="UTF-8">
<title>Cool Links</title>
{% if css %}
<link rel="stylesheet" href="{{ css }}">
{% endif %}
</head>
<body>
{{ content }}
</body>
</html>This tells 11ty that when we build and serve our website, we should add the content to the body section but also include the CSS we just wrote. Trust me, this is worth it.
One final thing. 11ty doesn’t automatically copy over other source files. So we need to configure it to do so. Create a file in the root of the project called .eleventy.js. Inside that file, simply add:
export default function(eleventyConfig) {
eleventyConfig.addPassthroughCopy("styles");
return {}
};This says that anything in our styles folder should be “passed through” to the build output. This makes sure that the folder that contains our site has everything we need, including the CSS.
Now, run this command again:
npx @11ty/eleventy --serveIf you checkout http://localhost:8080 now, you should see a blast from the past like this:
This is fun! This is what the web is all about. We can edit our markdown file to add or remove things easily too.
Hosting the site
Now for the super easy part. Let’s get our site online. When you ran the npx @11ty/eleventy --serve command, 11ty created a folder in your project directory called _site. That folder has everything we need.
Log into Orbter, click the Create Site button, then drag your _site folder into the upload modal. Give yourself a name (I’ll call mine 11ty, so that means one lucky person can snag cool-links). Click create and in a few seconds, you’ll have a site ready to view online.
Here’s the one I created for this tutorial: https://11ty.orbiter.website/
Anytime you want to update your site, you can upload the new version from the _site folder.
If you are a little more technical and would like to use our CLI, we have documentation on that here.
If you love 11ty or want to experiment with it now after this tutorial, you have everything you need to get started. Enjoy the web the way it was meant to be.
Signup for our Newsletter