How To Build And Host a Svelte Site

Svlete is a popular JavaScript framework that allows developers to build websites and apps. It was first created in 2016 by Rich Harris. His goal was to remove a lot of the bloat he was seeing with JavaScript frameworks. Svelte has been very successful at exactly that.
Today, we’re going to create a Svelte site and host it on Orbiter. To follow along, you’ll need the following:
- Node.js v18 or newer
- A text editor
- A terminal program
- A free Orbiter account
Building the site
We’re going to use the Svelte CLI to create our site. Open your comand line/terminal application and run the following command:
npx sv create --template minimal --types ts my-svelte-appThis is going to create a new Svelte project. I chose the minimal template to keep things simple. We’re using Typescript because we’re not maniacs. And the name of my app is simple my-svelte-app. You’ll be asked a couple of questions during the creation process that you can answer however you’d prefer. When the creation process is complete, you’ll need to change into your new project’s directory like this:
cd my-svelte-appNow, let’s open the project in our text editor. Svelte is, effectively, a templating language. You can see this by taking a look at the app.html file. Inside that file, you’ll see:
<!doctype html>
<html lang="en">
<head>
<meta charset="utf-8" />
<link rel="icon" href="%sveltekit.assets%/favicon.png" />
<meta name="viewport" content="width=device-width, initial-scale=1" />
%sveltekit.head%
</head>
<body data-sveltekit-preload-data="hover">
<div style="display: contents">%sveltekit.body%</div>
</body>
</html>And if you open the routes/+page.svelte file, you’ll see an example of a template that will be injected into the HTML. It looks like this:
<h1>Welcome to SvelteKit</h1>
<p>Visit <a href="https://svelte.dev/docs/kit">svelte.dev/docs/kit</a> to read the documentation</p>Let’s run the site as is just to see how it works. In your terminal, run:
npm run devThis will compile and serve your site’s assets on http://localhost:5173. If you visit that URL in the browser, you’ll see a simple site with the welcome message and link to Svelte’s documentation. Let’s now make some changes and make this site our own.
In the +page.svelte file, update it to look like this:
<div style="width:75%; margin:auto; padding-top: 20px;">
<h1>My New Svelte Site</h1>
<p>I just created this site and I will be hosting it on <a href="https://orbiter.host">Orbiter</a>.</p>
</div>We’re not making huge changes. This just changes the content and adds some inline styles. You’ll notice if you visit the URL now, the changes have happened automatically. This is great. Exactly what we want.
Svelte, of course, is much more powerful than just writing simple HTML. If you want to explore what else it’s capable of, I highly recommend checking out their docs and playground. But this is good enough for us to illustrate creating a site using Svelte.
Now, we need to build it and host it on Orbiter.
Hosting the site
Svelte has changed in the years since it was first created and now can support both static site generation or server-side rendering. We want a static site, so we need to install an adapter. In your terminal, run this command:
npm i @sveltejs/adapter-staticThen, in your text editor, open the svelte.config.js file and replace everything in there with the following:
import adapter from '@sveltejs/adapter-static';
import { vitePreprocess } from '@sveltejs/vite-plugin-svelte';
/** @type {import('@sveltejs/kit').Config} */
const config = {
// Consult https://svelte.dev/docs/kit/integrations
// for more information about preprocessors
preprocess: vitePreprocess(),
kit: {
// adapter-auto only supports some environments, see https://svelte.dev/docs/kit/adapter-auto for a list.
// If your environment is not supported, or you settled on a specific environment, switch out the adapter.
// See https://svelte.dev/docs/kit/adapters for more information about adapters.
adapter: adapter({
// default options are shown. On some platforms
// these options are set automatically — see below
pages: 'build',
assets: 'build',
fallback: undefined,
precompress: false,
strict: true
})
}
};
export default config;This is telling Svelte’s build engine to generate a static website. But we need to do one more thing before running our build command.
Create a new file in the routes folder called +layout.js. In that file, we’ll just add one line:
export const prerender = true;This is telling the layout engine that we are prerendering the HTML and not relying on server-side rendering. Now, if we run the following command in our terminal, we’ll get a static output:
npm run buildYou should see that a build folder was created. This is what we will upload to Orbiter.
Log into your Orbiter account and click the Upload Site button. You can drag and drop the correct folder here or you can click the Select Folder option.
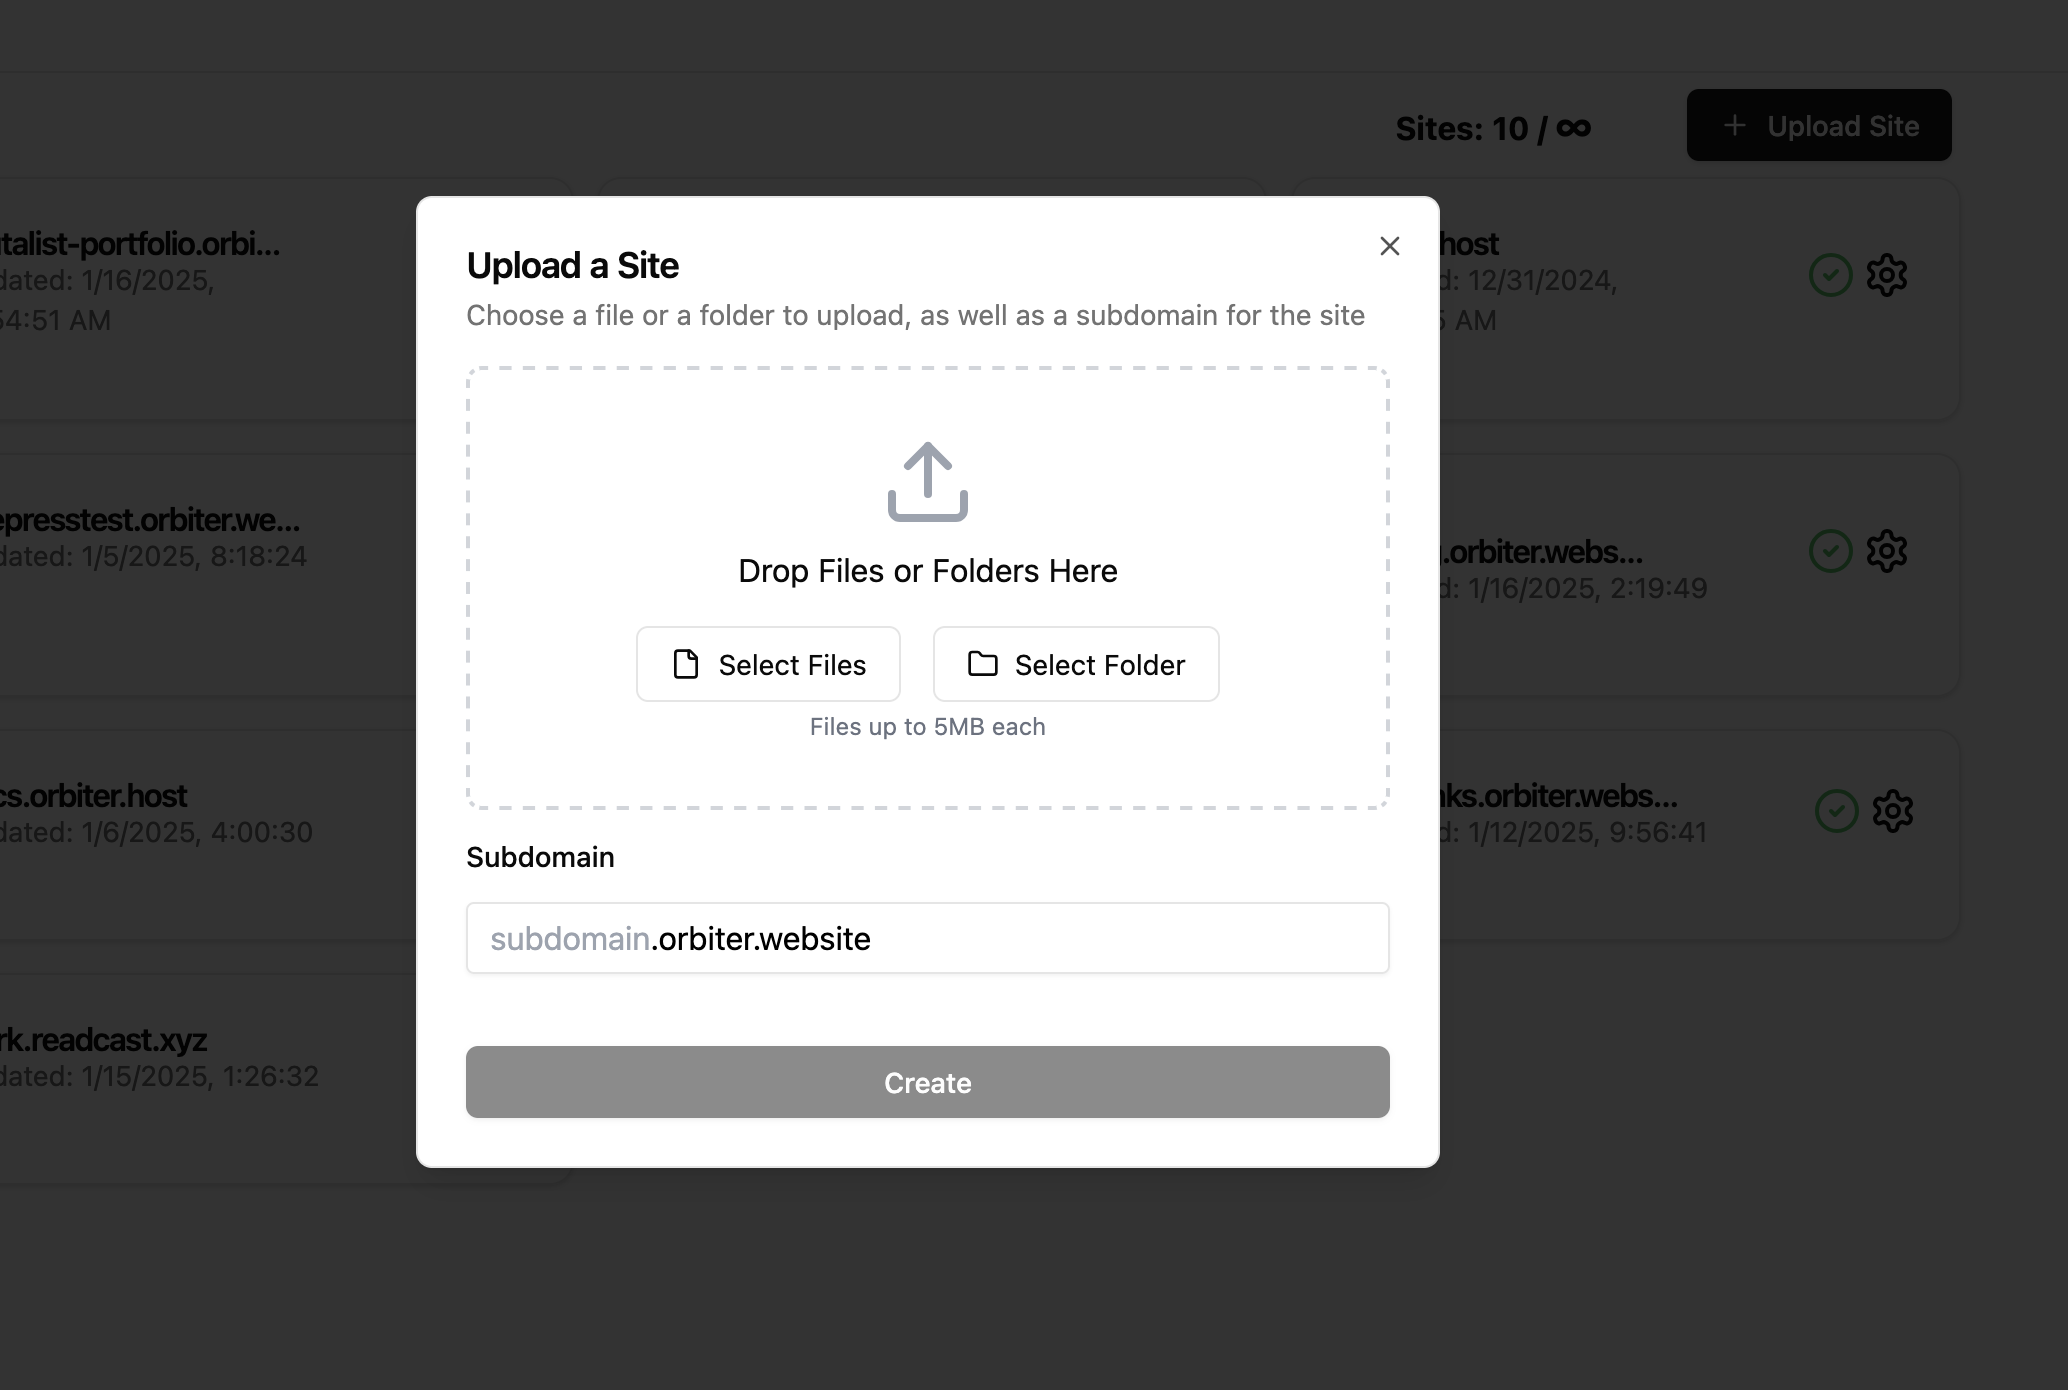
Now, you want to select the build folder that was created as a result of your build command. Give your site a subdomain, and then click Create.
In just a view seconds your site will be online and you can share it with the world! It’s that simple. If you need to update the site, you can click the gear icon next to your site on the Orbiter dashboard and choose Update Site. You’ll then upload the new version of your build folder.
If you prefer a more automated deployment process, we have a great CLI that can streamline things for you as well. You can read the docs for the CLI here.
Conclusion
Working with Svelte can be fun and easy. Getting your Svelte site online can be even easier if you’re using Orbiter. Svelte is a powerful framework for creating websites and web apps. And if you choose to create a static site with Svelte, Orbiter is the perfect tool for hosting it.
Signup for our Newsletter